
No products in the cart.

Halloween Gifts
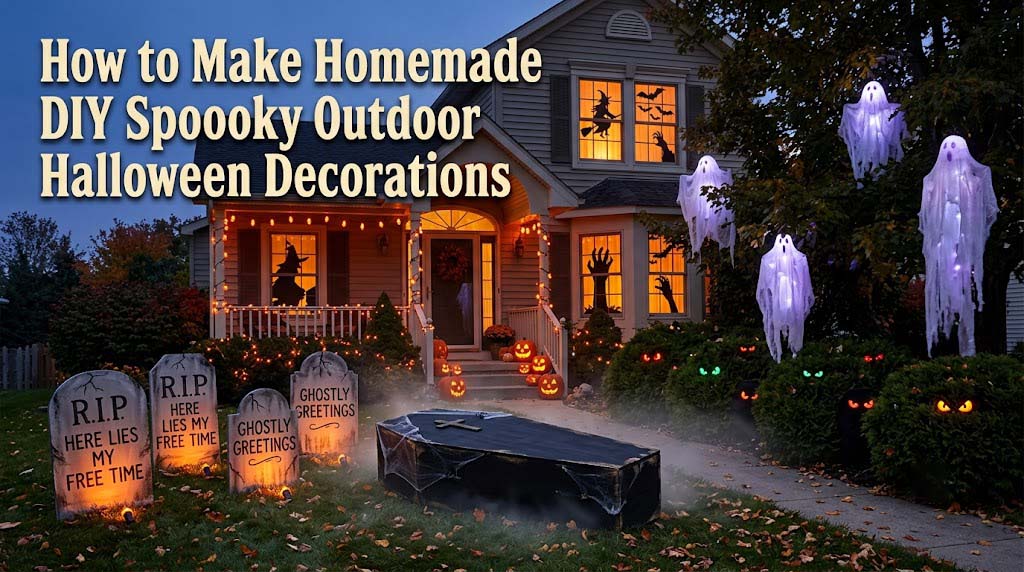
How to Make Homemade DIY Spooky Outdoor Halloween Decorations
31
Aug
Aug
Building your own homemade diy spooky outdoor halloween decorations is one of the more satisfying ways to fill a yard for the season without spending a full decorating budget on store-bought props. The trade-off is that DIY pieces have to survive real weather, so a plan that accounts for materials, anchoring, and setup time upfront saves you from redoing work halfway through October. This guide walks through a shortlist of beginner projects, the materials worth using outdoors, four full builds, and what to do with everything once the season ends.
Before You Start: Planning Your Scary DIY Halloween Yard
Five Beginner-Friendly Project Options
Before buying any supplies, it helps to see which projects fit your time, budget, and skill level — and to plan around drying and curing time, not just the hands-on work. Tombstones and cheesecloth ghosts are the most forgiving for a first attempt, while a coffin build and layered sound-and-fog setup take considerably more time and a higher tolerance for trial and error.
| Project | Difficulty | Estimated Materials Cost | Active Build Time | Drying/Curing Time |
|---|---|---|---|---|
| DIY tombstones | Easy | Low | 45–60 min | 4–24 hrs (paint layers, glue cure) |
| Cheesecloth ghosts | Easy | Low | 20–30 min | 4–8 hrs (stiffener cure) |
| Glowing monster eyes | Very easy | Very low | 10–15 min | None |
| Window silhouettes | Easy | Low | 30–45 min | None, unless painted |
| DIY coffin centerpiece | Moderate | Medium | Half a day to a full day for a first attempt | Additional time if sealed or painted |
Designing the Scene: Focal Points and Layout
A yard full of disconnected props tends to read as cluttered rather than scary, so it’s worth mapping out the space before building anything. Pick one larger piece — a coffin, a cluster of tombstones, or a hanging ghost — as the focal point, then place smaller items like glowing eyes or silhouettes around it to build depth in the foreground and background. Leave a clear, lit path to your front door, since a scary yard still needs to be safely walkable for trick-or-treaters and delivery visitors. Because several of these builds need real drying and curing time, it’s worth mapping your project list against how many days is it halloween so paint and glue have time to fully set before the big night.
Adapting for Small Porches and Renters
Not every project needs a lawn to stake into. Removable adhesive hooks, window clings, and container-based props work well on a porch, balcony, or rented property where you can’t drive stakes into the ground. Window silhouettes in particular scale down easily and still read clearly from the street, even from a second-story apartment window — more on building those later in this guide.
Essential Materials, Tools, and Outdoor Weatherproofing
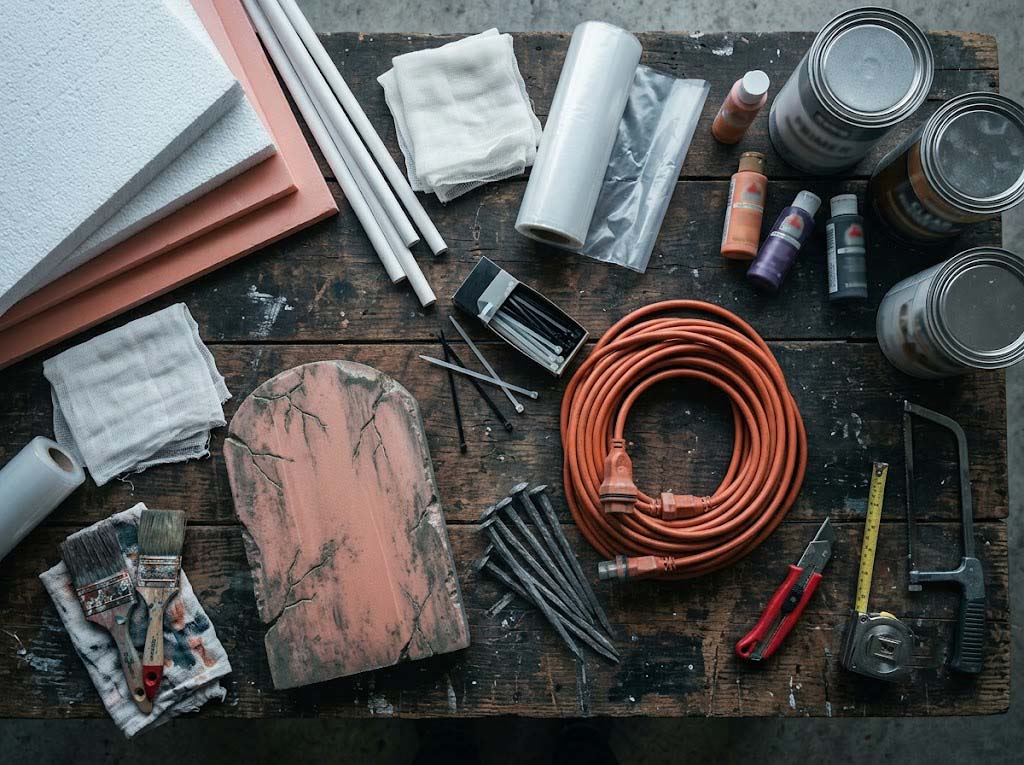
Low-Cost Base Materials vs. What to Avoid
Foam board (EPS or XPS), PVC pipe, cheesecloth, plastic sheeting, and zip ties are the workhorses of outdoor DIY Halloween props — they’re inexpensive, easy to shape, and hold up reasonably well outside when finished correctly. Untreated cardboard and plain paper are worth avoiding for anything left outdoors for more than a night, since both break down quickly once they take on moisture. The same goes for indoor-only electronics; a string light or speaker rated for indoor use only isn’t built to handle rain or humidity, regardless of how it’s wrapped.
Weatherproofing: Protecting Props From Rain and Wind
A primer coat followed by a clear-coat sealer meant for outdoor use gives foam and wood a real layer of protection against moisture. It’s worth being upfront about what that actually does, though: a sealed coat adds resistance, it doesn’t make paper or foam fully waterproof, so a heavy, sustained storm can still damage a prop that would otherwise handle light rain just fine. If a serious storm is forecast, bringing lighter pieces indoors temporarily is more reliable than any coating.
General Outdoor Safety: Electrical and Anchoring Rules
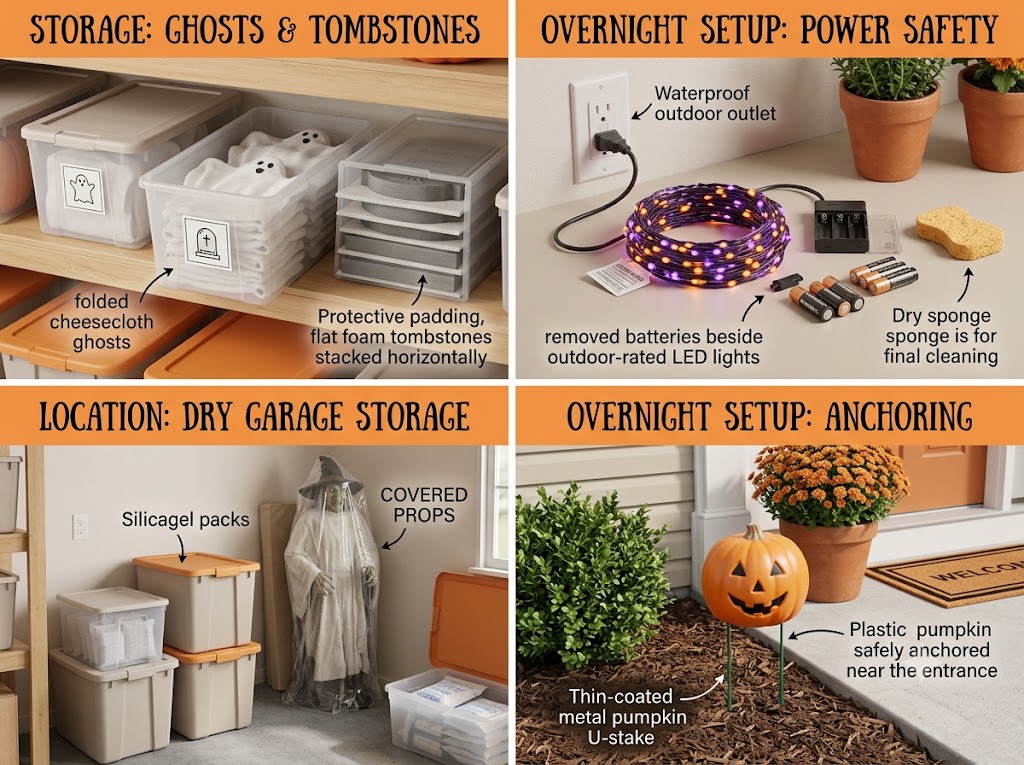
Use extension cords and lighting rated for outdoor use, and keep every connection point off the ground and away from areas where water pools. Match your anchoring method to the surface: metal stakes or rebar work for soil, while sandbags or water-filled weights are the better option for concrete or pavement where you can’t drive anything into the ground. The specific projects below will point back to this section rather than repeating the same anchoring instructions each time.
Project 1: DIY Halloween Tombstones for a Haunted Yard
Cut and Shape the Tombstone Blank
Foam board — either EPS or the denser XPS — is the easiest material to carve into a tombstone shape with a utility knife or a hot wire cutter. Rounded tops, cracked edges, and slightly uneven silhouettes read as more convincing than a perfectly straight-edged rectangle, so it’s worth roughing up the outline rather than cutting it too cleanly.
Add Lettering, Texture, and Faux Aging
Carved epitaphs stand out better at night than painted-on text, since the shadow from the carved groove helps the lettering stay visible under yard lighting. A heat gun or light acetone wipe can create a pitted, stone-like texture on foam, but both call for real caution: work in a ventilated area, keep flammable materials well clear of the heat gun, and use acetone sparingly since it can melt foam faster than expected if overapplied. Layering gray and black acrylic paint afterward, dry-brushing the darker tone into the recessed texture, gives the aged stone look most people associate with a real cemetery marker.
Securing Tombstones in Soil or Concrete
Glue a length of PVC pipe to the back of the foam blank, sized to slide over a stake driven into the ground using the anchoring method from the materials section above. The glue choice matters more than it seems: standard super glue, high-temp hot glue, and many solvent-based spray adhesives will melt or eat into EPS and XPS foam on contact. Use a foam-safe construction adhesive or a low-temperature hot glue gun instead, and test a small hidden spot first if you’re unsure how a product reacts with your specific foam. This mounting setup also lets you remove the tombstone at the end of the season without digging out anything glued directly into the soil.
Project 2: Cheesecloth Ghosts and Floating Spirits
Build the Ghost Form
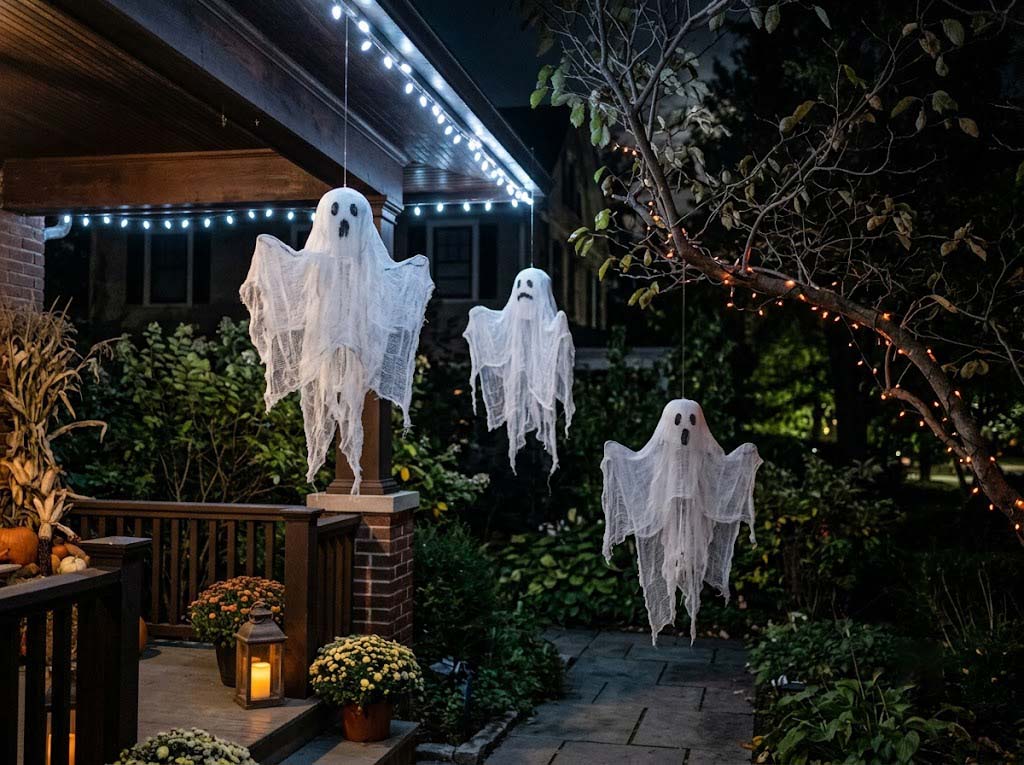
A lightweight internal support — a wire frame, an inflated balloon, or a foam head — gives the ghost its basic shape before the fabric goes on. Cheesecloth soaked in liquid starch or a fabric stiffener and then draped over that support will dry into a hardened, ghost-like form that holds its shape once it’s fully cured.
Lighting the Ghost for Nighttime Visibility
A low-heat LED spotlight or a short strand of outdoor-rated string lights placed inside or just below the form creates a soft glow through the fabric without the heat risk that an incandescent bulb would carry pressed against cheesecloth. Positioning the light source slightly off-center rather than dead-on tends to give a more natural, uneven glow.
Hanging Securely
Fishing line paired with a weight-rated hook is the standard way to hang a cheesecloth ghost from a tree branch or porch eave — use the same load-rating logic covered in the anchoring section earlier. Leave enough clearance so the ghost isn’t sitting at face or neck height where anyone walking past could bump into it. One thing specific to this project: once cheesecloth hardens with starch, it holds its shape rigidly and catches wind more like a small sail than soft fabric would, so it’s worth checking the hanging point after any strong gusts. For more on hardware weight ratings and mounting points generally, a broader guide to hanging halloween decorations covers overhead display safety in more depth.
Project 3: Glowing Monster Eyes and Creepy Silhouettes
Crafting Glowing Eyes for Bushes
Cut small eye shapes into toilet paper rolls or the sides of plastic containers, then tuck a glow stick or a small outdoor LED bulb inside and nestle the whole thing into a bush or hedge. This is one of the lowest-effort, lowest-cost projects on this list, and it reads surprisingly well from the street once it’s dark.
Cardboard or Foam Window Silhouettes
Cut bats, witches, or crawling figures out of foam board or heavy cardboard, then tape them to the inside of a window with a light source positioned behind the cutout. Backlighting turns a flat, simple shape into a large, dramatic silhouette visible from well down the street, which makes this one of the better projects for renters or upper-floor apartments without yard access.
Using Shadows and Negative Space
A prop that’s partially hidden in shadow, with a single strong light source aimed carefully, tends to read as scarier than a fully lit, evenly spaced display. Leaving darker gaps between lit elements gives the eye somewhere to imagine detail that isn’t actually there, which is a big part of why negative space works better than crowding every corner of the yard with light.
Project 4: DIY Coffin, Graveyard Centerpieces, and Special Effects
Build a Lightweight, Collapsible Coffin
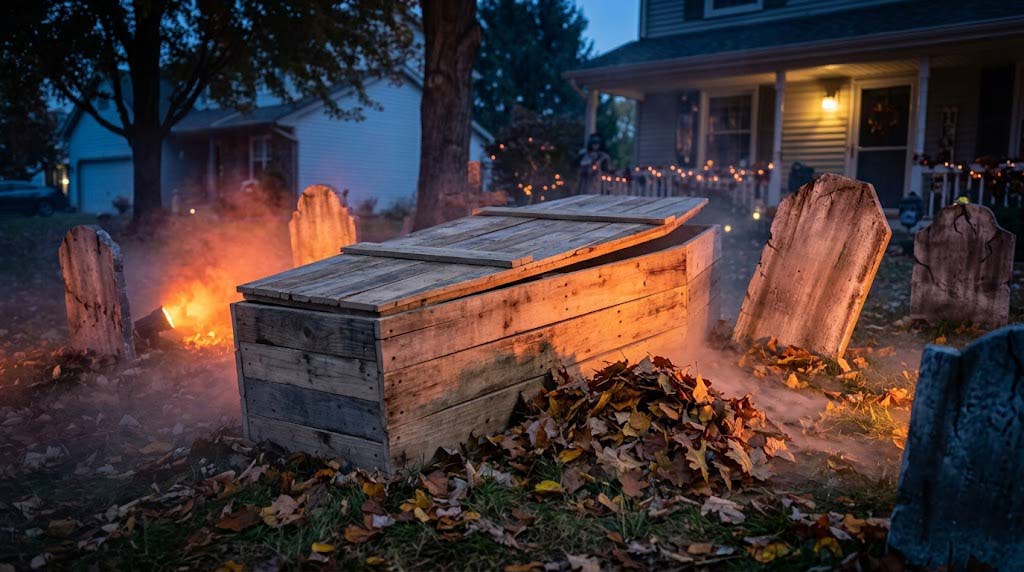
Pallet wood, rigid foam insulation board, or heavy-duty plastic sheeting over a simple wood frame can all be shaped into a coffin outline sized to fit your yard. Building it in sections that fold or come apart with removable pins makes the finished piece far easier to carry and store than a single rigid box, and it’s worth planning for a full day of work if this is your first time building one — between cutting, assembly, and any paint or sealant, it adds up faster than it looks.
Layering the Scene With Sound and Fog
A small fog machine paired with a hidden Bluetooth speaker playing low ambient sound adds a sensory layer that static props alone can’t match, without needing full animatronics. Most consumer-grade fog machines are not actually rated for direct rain exposure even when marketed for outdoor Halloween use, so check the specific IP rating before assuming it’s safe to leave uncovered — and if you do shelter it, make sure the vents and fluid intake stay unobstructed, since blocking those to keep out rain can cause the unit to overheat. Positioning the speaker out of sight, tucked behind a tombstone or inside the coffin frame, keeps the focus on the scene rather than the equipment creating it.
Teardown, Cleanup, and End-of-Season Storage
Safe Disassembly and Material Reuse
Let fabric pieces like cheesecloth ghosts dry out fully before taking them down, remove batteries from any battery-powered LEDs, and carefully separate glued or zip-tied components rather than forcing them apart, since foam board tears easily under stress.
Storing DIY Props Properly
Store foam pieces flat rather than leaning them against a wall, since foam board can warp or snap under its own weight over months of storage. Seal cheesecloth and other fabric items in bags or bins to keep pests and moisture out, and label boxes by project so next year’s setup doesn’t turn into a guessing game.
Lawn Care: Protecting Grass and Plants
Move heavy props periodically through the month rather than leaving one spot under constant pressure for weeks, and keep any paint, fake blood, or other liquid effects away from soil and grass where they can leave lasting stains. Rebar and metal stakes left in the ground for an extended period can leave holes worth patching once you pull everything up at the end of the season.
Frequently Asked Questions About DIY Outdoor Halloween Decorations
What is the easiest homemade outdoor Halloween decoration?
Glowing monster eyes tucked into bushes or a backlit window silhouette are the easiest starting points, since neither requires ground anchoring, drying time, or weatherproofing to look effective.
What glue should I use for foam Halloween props?
Use a foam-safe construction adhesive or a low-temperature hot glue gun. Standard super glue, high-heat hot glue, and many solvent-based spray adhesives can melt or eat into EPS and XPS foam, so it’s worth testing a small hidden area first if you’re unsure how a product will react.
How much wind can homemade Halloween decorations handle before I should bring them in?
Lightweight fabric pieces like cheesecloth ghosts are the most vulnerable once they’ve stiffened, since a hardened shape catches wind more like a sail than soft cloth. Check hanging hardware and ground stakes after any strong gust, and bring lighter pieces inside ahead of a forecasted storm rather than waiting to see if the anchoring holds.
How do I protect painted foam props from rain damage?
A primer coat followed by an outdoor-rated clear sealer adds real moisture resistance, but it doesn’t make foam or paint fully waterproof. For sustained heavy rain, moving the piece under cover or bringing it indoors temporarily protects it better than relying on the sealant alone.
Are DIY Halloween decorations safe to leave outside overnight?
Generally yes, as long as they’re properly anchored and any lighting is outdoor-rated. Unplug fog machines when unattended, and bring in lighter or more fragile pieces ahead of severe storms rather than relying on a sealant coat to protect them.